A few years ago I discovered a technique that I think is the easiest way ever for joining the beginning and ending tails on a binding. You don’t need a special ruler, an iron, or math. It’s done with a 2″ piece of Dritz Wash Away Wonder Tape™ (which I now keep next to my machine at all times 😊).

As I was using this technique to bind Josiah’s quilt, the teacher in me knew I had to share it once again; for newer viewers and as a reminder to the rest of you 😃. It’s the only one I’ve used for the past 3 years and I highly recommend it. It’s really this easy:
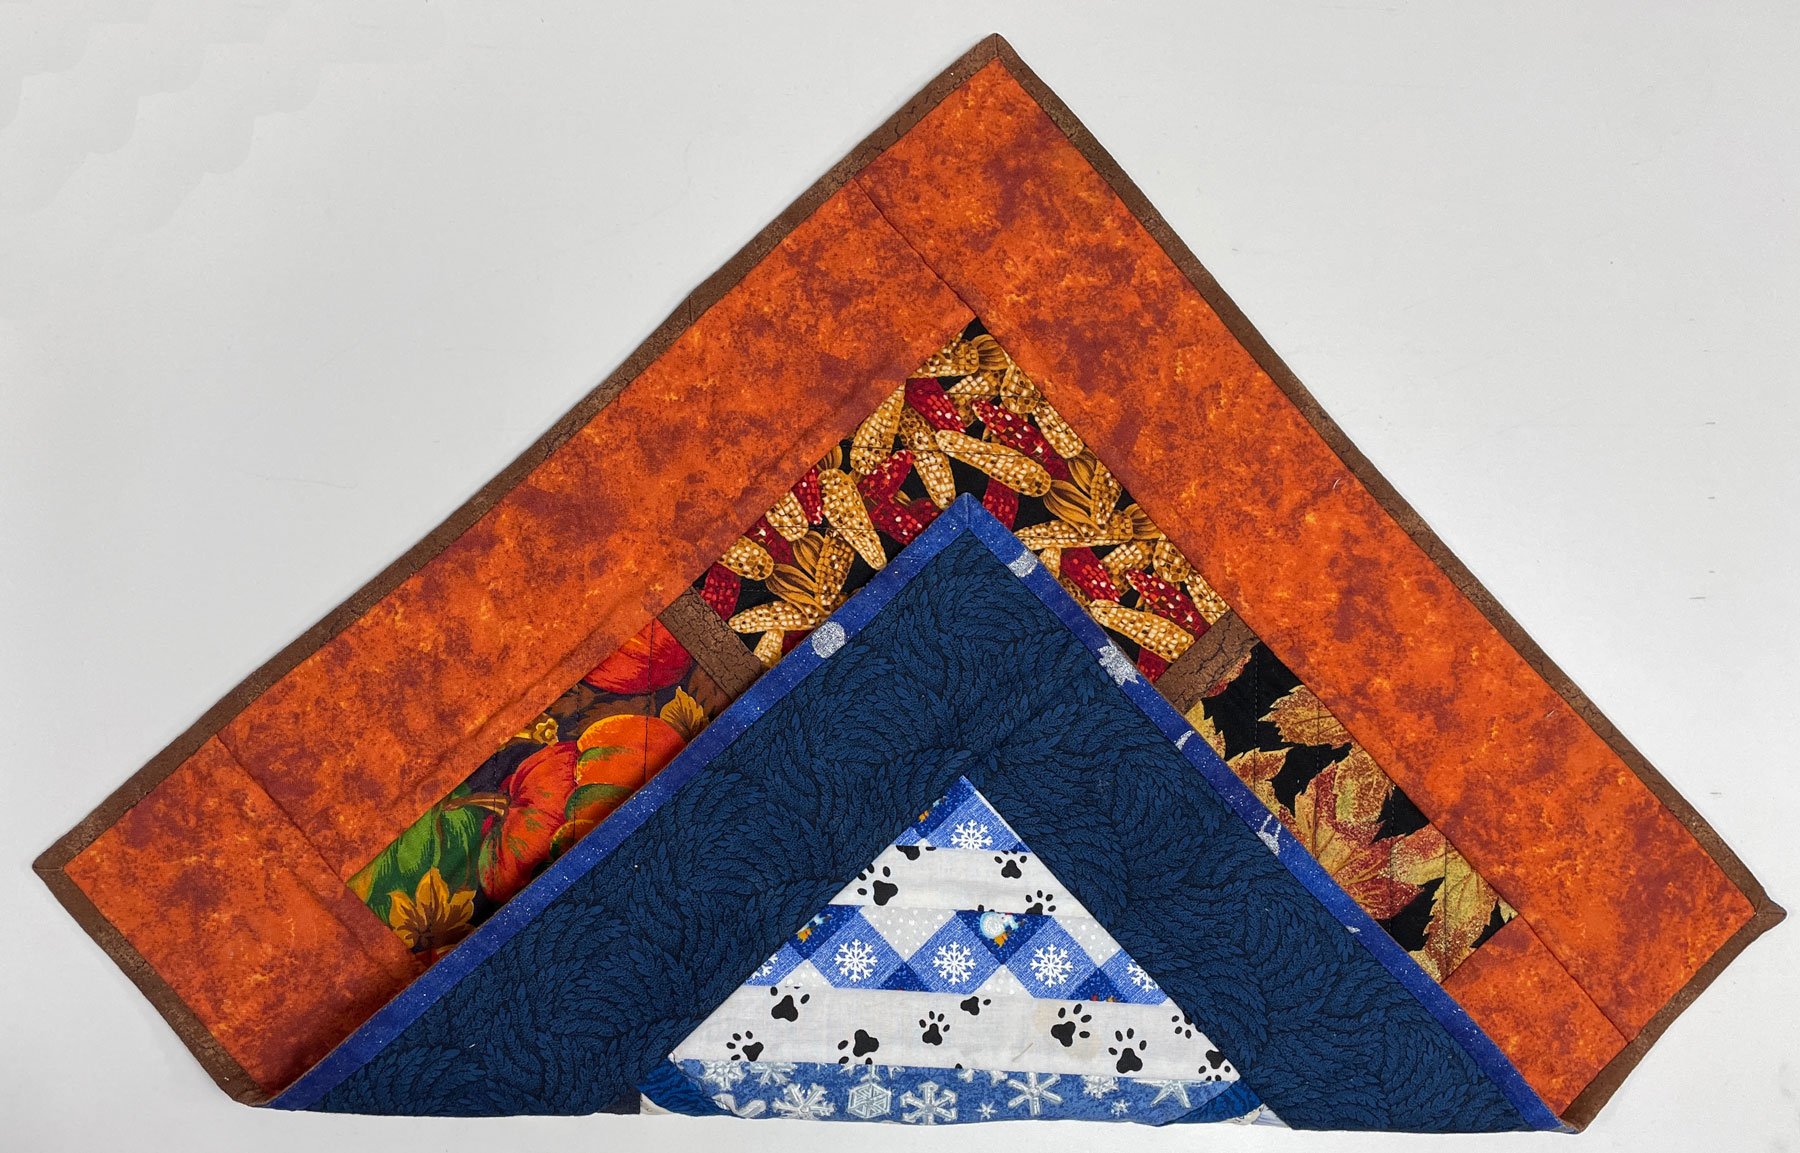
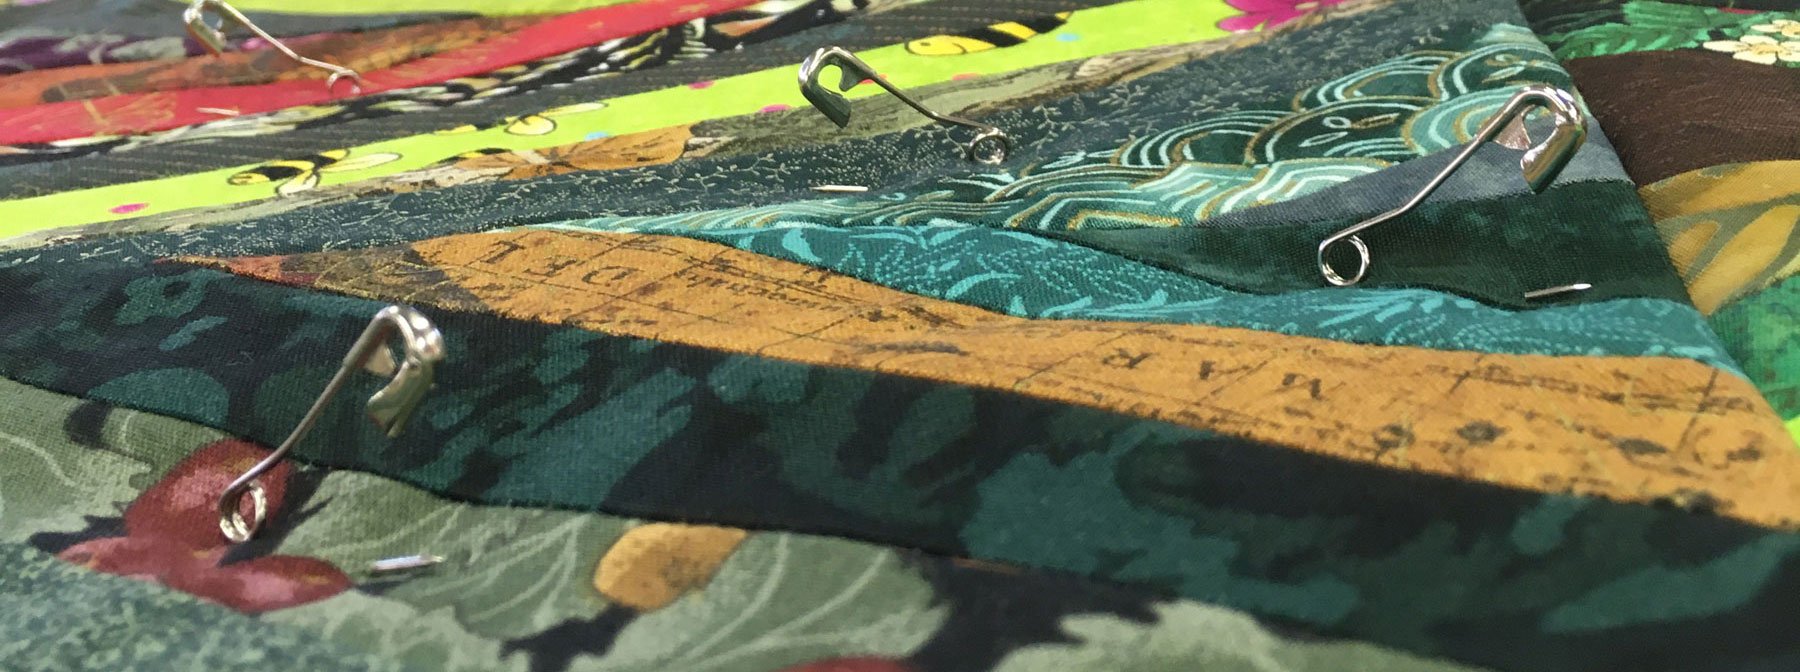
Leave an opening between your beginning and ending tails about 10″ long:

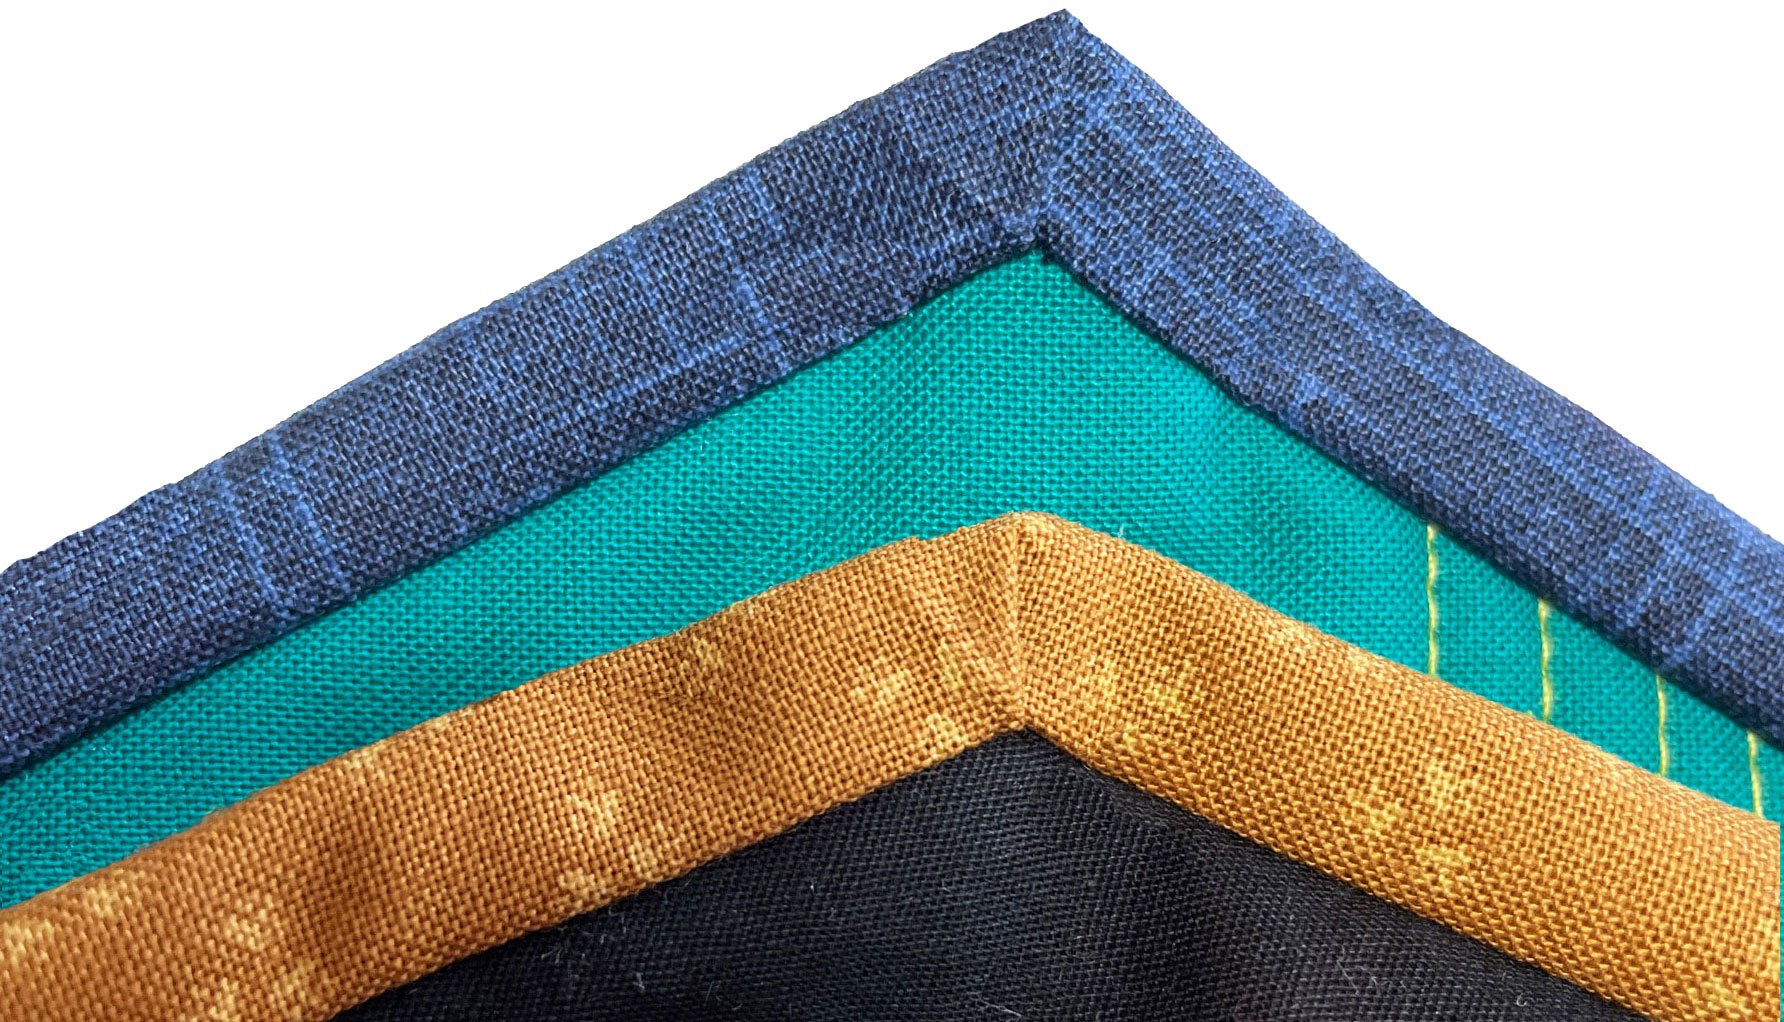
Fold one tail back to create a 45 degree angle. No math is required because you can check it by putting a square ruler in the inside corner that’s created:

Place a 2″ piece of tape along the fold and rub with your fingernail to be sure it sticks:

Remove the paper from the tape, leaving the glue strip along the crease:

Lay the other tail in place along the edge of the quilt, and over the tape on the crease:

and finger press to secure tape to this second strip:

Lift the strips to reveal the inside of the crease:

Gently pick the entire piece up and stitch in the crease:


Lay the binding back on the quilt to make sure it fits:

Once you’re sure, trim off the tails:

Lay back in place and sew this last portion of the binding to the quilt:

Voila. I just leave the tape in place since it will wash away. Turn the binding to the back of the quilt and finish as usual. I hope you’ll give it a try!
***********************
Correction!
In spite of the fact I like math ~ it was brought to my attention that I have oft repeated a counting error. Doris sent me an email after watching my Quilt as You Go lecture at the Great Wisconsin Quilt show saying that she could only come up with 6 layers when sewing the front and back sashing on, not 7. She’s exactly right and I apologize for any confusion this may have caused. Fortunately the technique remains the same 😊. Thanks Doris, for letting us know!