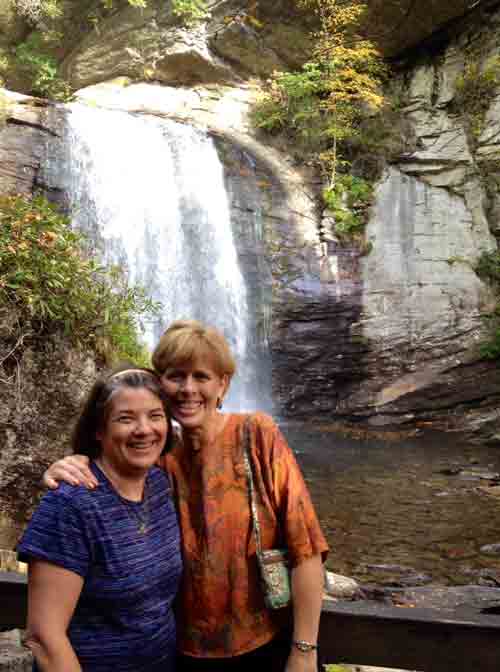
It seems I’ve been traveling quite a bit lately and this past week was no exception. A year ago, while in Paducah, I met a dear quilter named Patti. She invited me to teach for her guild in North Carolina. I just returned from that wonderful trip. The Western North Carolina Quilters were delightful! They were so welcoming and the students in my “Parallelisms” class were very creative :-)! I so enjoyed getting to know Patti and Ed, and when I wasn’t teaching, we visited some very interesting sites – like Looking Glass Falls –
 It’s fun to spend time in someone else’s studio, and Patti’s is amazing. Ed has built most of the cupboards and tables, and her studio is a perfect place for this very creative quilter to play.
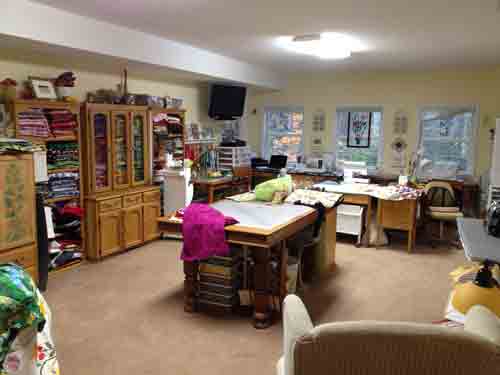
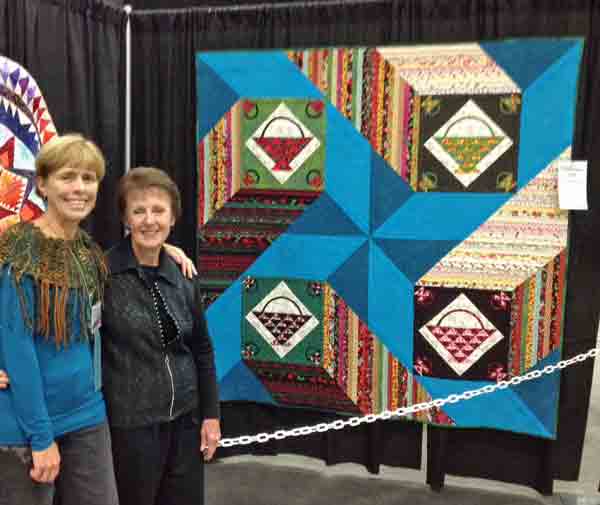
Thank you Patti, Ed and all my new friends in North Carolina!
Now on to this week’s topic:
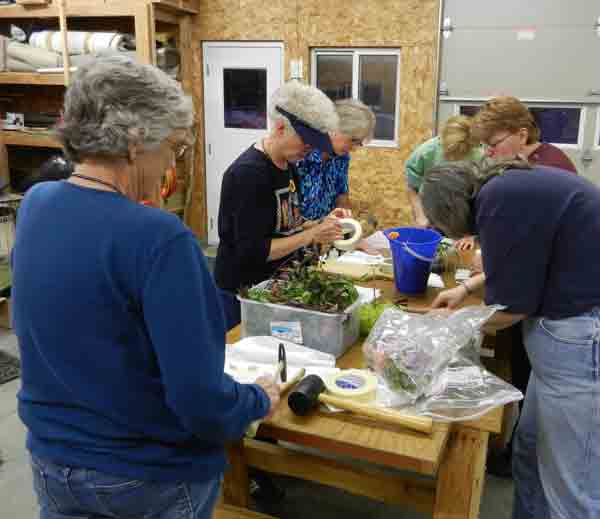
The Fiberistas (our new Watertown, fiber art group) were at it again last month. This time Kay had suggested we play with flower pounding. What a hoot! (actually we sounded much more like woodpeckers than owls :-)).We decided to do it here – in Mike’s shed (the one with the quilt block hanging on it), because everyone else has neighbors nearby and we didn’t want to be annoying. We all gathered flowers, leaves, branches and ferns still left in our yards, Kay brought the wide masking tape and everyone was armed with a hammer. The process is quite simple – and very noisy!
1. Choose an item to pound (ferns, arbor vitae, coleus, geraniums and pansies were some of my favorites).
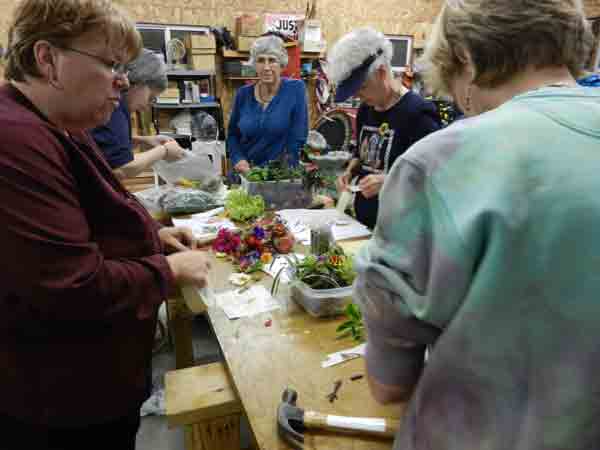
2. Place it on your pre-washed muslin, spreading out the thicker, denser areas to make them thinner, and cover completely with masking tape.
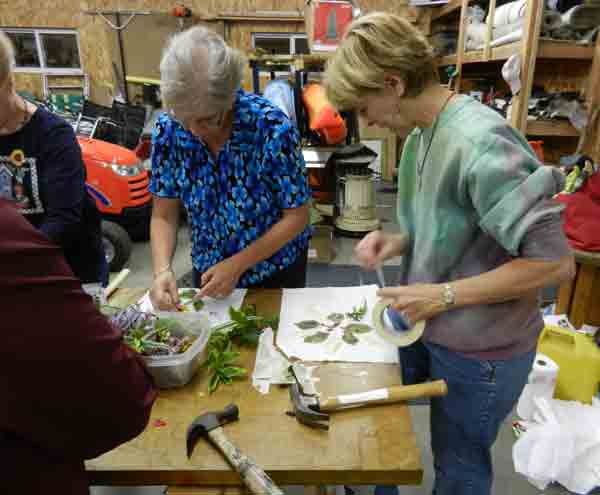 3. Choose either the tape or the fabric side and let the pounding begin:
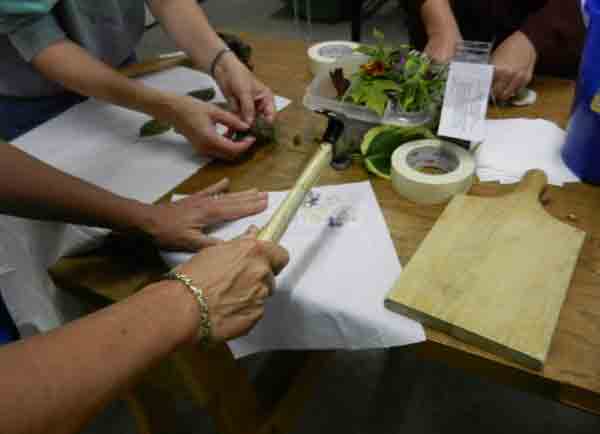
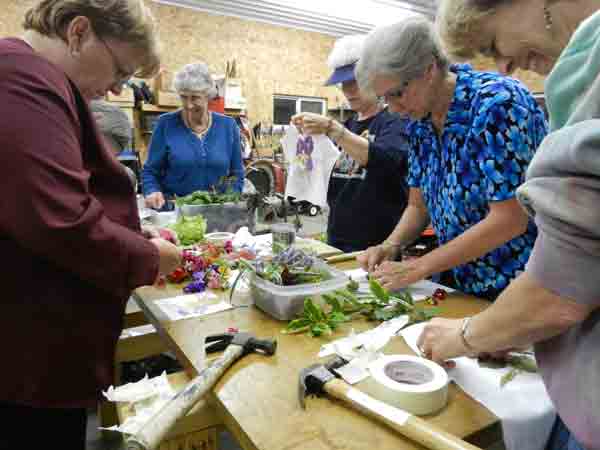
Liane was really getting into it here:
 It seems we did as much selecting and taping as hammering!
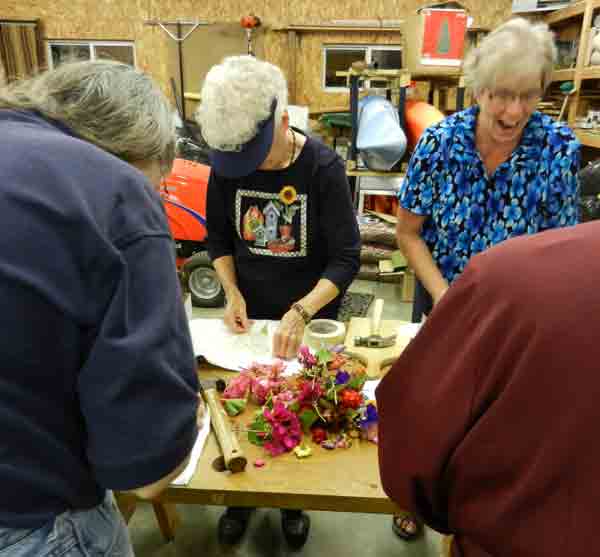
And Mike had a good time taking pictures!
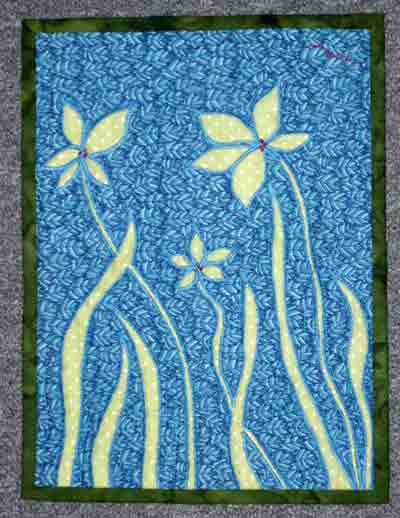
And here’s my finished piece.
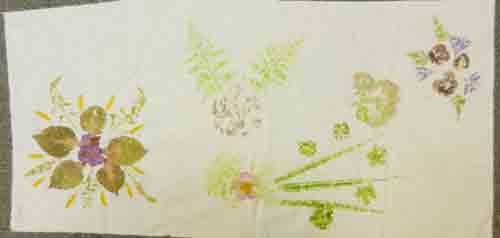
I’m not sure what will become of it, but it certainly was fun to create. Kay said she and her daughter had done this on t-shirts!
Have you ever done any flower/leaf pounding? I’d love to see pictures of the results!
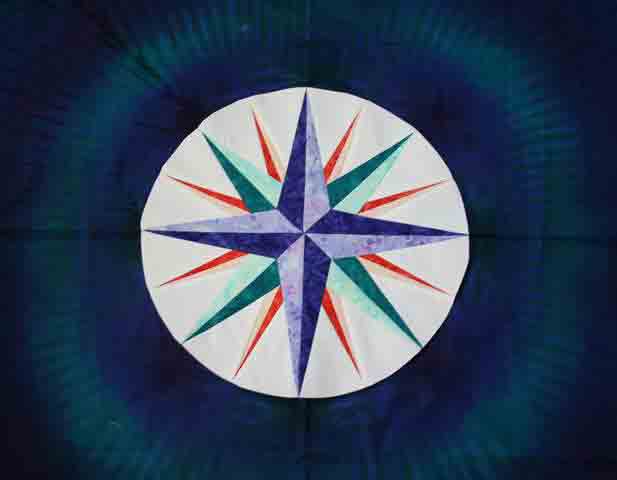
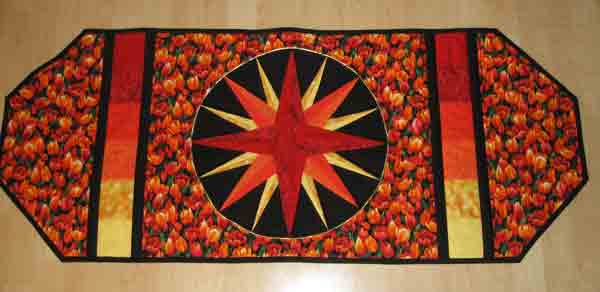
Speaking of pictures, over the past few weeks I’ve posted pictures of Mariner’s Compass quilts which were finished after I taught a class in Janesville. Many in that group have finished their compasses and I so appreciate receiving these pictures (I hope you enjoy seeing them too). Nancy Acker just sent me a photograph of hers and here’s what she said:
“This little quilt came about because I joined the guild in Monroe and they had a project underway. The project was called “flat ostrich”. You picked 5 elements from a jar and had to use 3 of them in a quilt. My elements included paper piecing, flying geese and a 1″ border. Perfect for my mariner’s compass. I also included 3 other elements, 4 patch (my background), embellishment (rick rack) and appliqué (goose). It was fun. Monroe is a much smaller group than Janesville and now I will enjoy both of them. It’s wonderful to be retired and have so much time to devote to quilting. Thanks for that great class, Nancy”
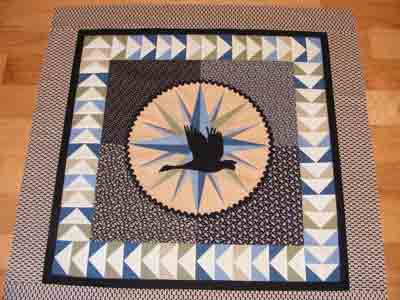 She really took this piece to another level. I especially like the rick-rack around the compass and the 4-patch background. WOW!