To make the bright schnibblework star in my previous posts, I used a technique I developed a few years ago for cutting accurate diamonds. I’m quite sure I didn’t post about it then – so I think it’s about time to do so.
Whenever you’re making diamonds that will be sewn together, it’s important the angles and sides are all consistent. While teaching a lone star class I found the “squaring up” of the diamond step to be the most confusing part for students. My answer to this problem? Freezer paper!
To begin, cut a strip of freezer paper the finished width you’d like your diamond to be (mine was 6 1/2″)
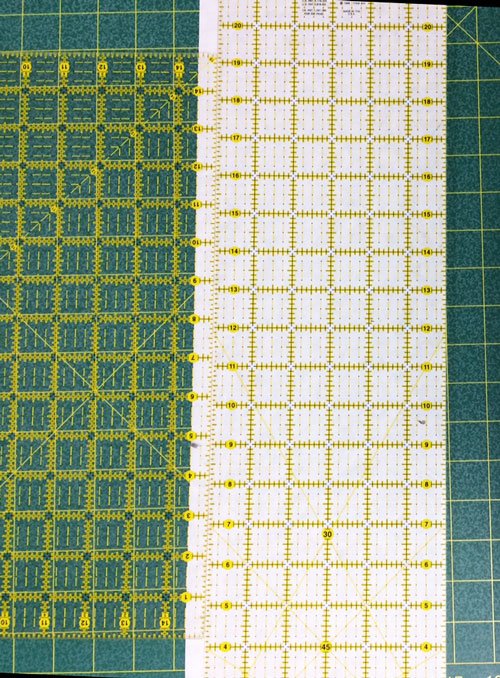
Next, cut one end of the strip off at the angle you need by lining the bottom edge of the strip on the correct degree line on the ruler (diamonds can be 45° or 60° – mine is 45°). Please ignore the lines on the cutting mat and look only at the ruler and the freezer paper. I apologize for the optical illusion created by the paper not laying square on the mat.

Then cut the diamond from the strip at your finished measurement once again.

Viola!

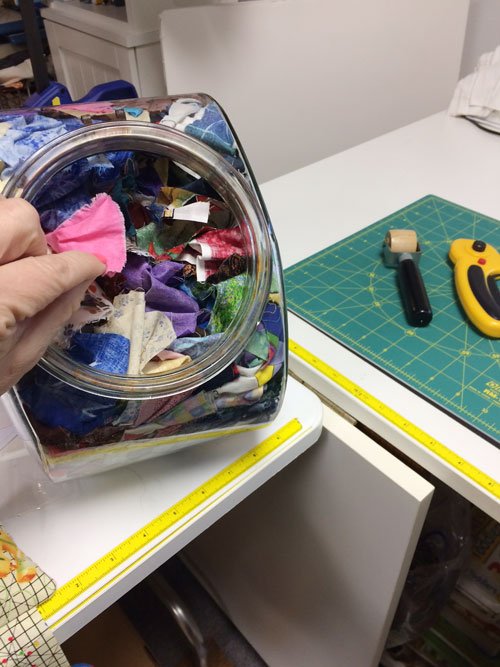
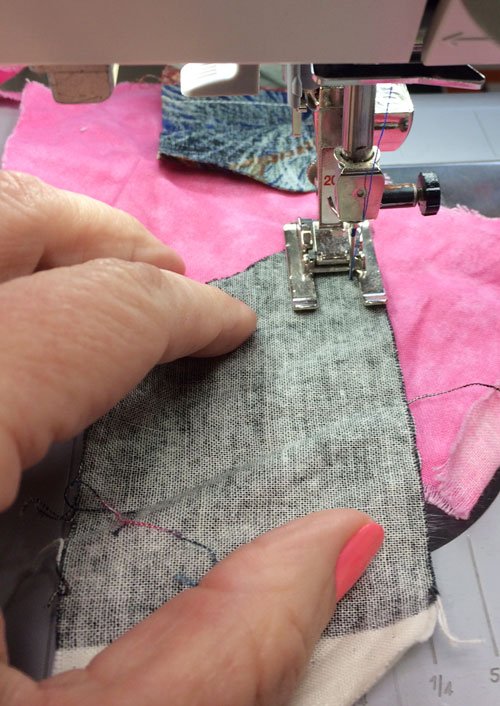
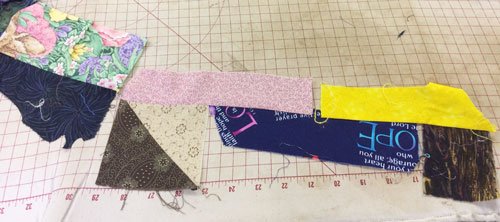
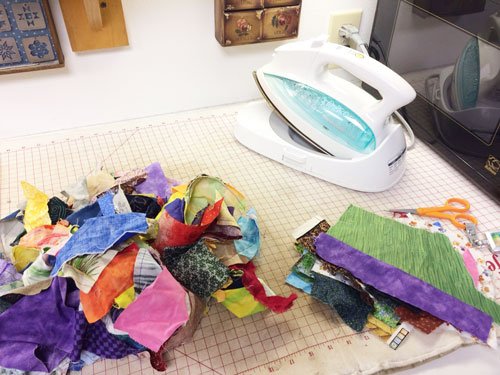
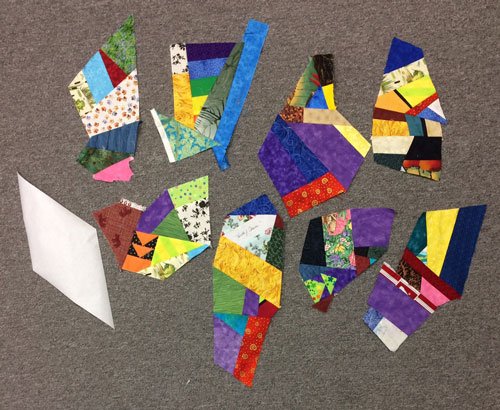
Now it’s time to go to the fabric. Piece your schnibblework chunks until they are at least 1/4″ bigger than the freezer paper diamond all the way around.
Iron the freezer paper diamond to the right side of the schnibblework, making sure there is at least 1/4″ of fabric beyond the paper all the way around. Trim 1/4″ from the edge of the freezer paper with a rotary cutter and ruler.

Then peel the paper away.
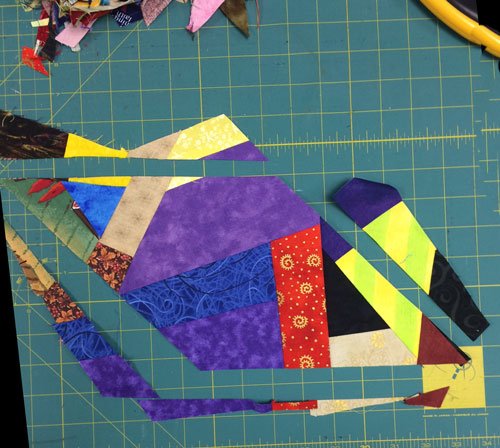
This sample was cut at 7″ and will finish at 6 1/2″. The reason I cut the paper the finished size and add the seam allowance when cutting the fabric is accuracy. It is difficult to cut along the edge of freezer paper without shaving some of the paper away, and each little shave changes the diamond for the next cut.
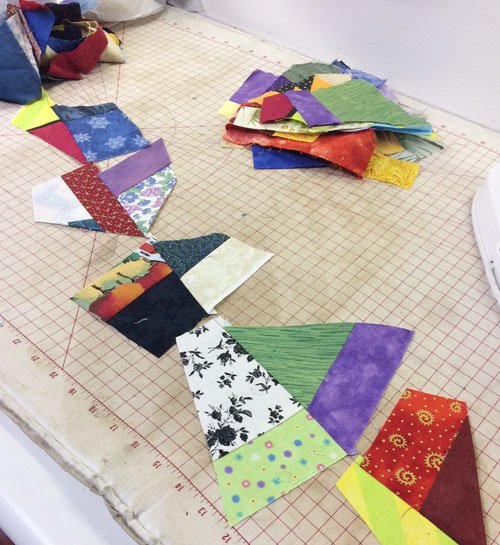
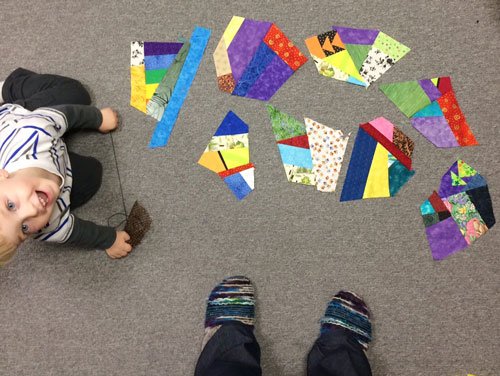
Once I had eight of my schnibblework diamonds cut, it was time to pick a background fabric and sew them all together. None of my “safe” fabrics looked good with all those scraps, so I pulled out my wild fabrics and found the perfect option 😀 .
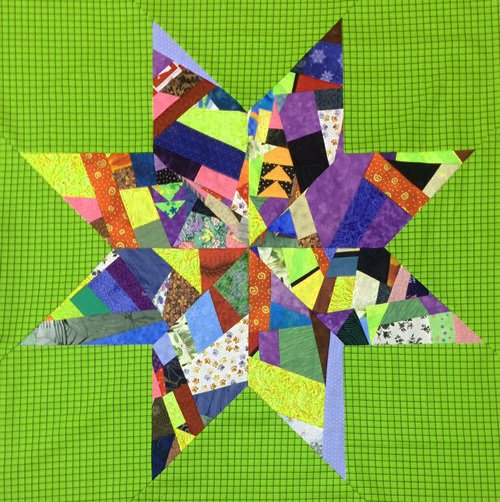
Remember this requires “Y” seams to set in the background squares and triangles.
I’m not sure what should happen next to this star, but I’m looking forward to some scrappy bordering fun! Stay tuned!