As I was taking the winter quilt off the bed this week (and just in time – the 90° days have arrived), I realized it also contained an early piece of Schnibblework. This quilt was made in a “round robin” at a guild I belonged to back in the 90’s – and it ended up King size!
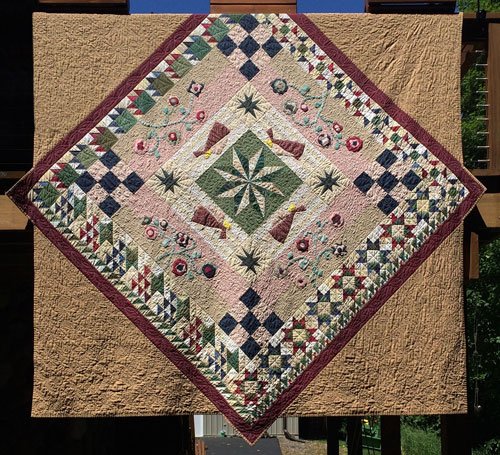
As you probably know, each participant in a round robin puts a block in a bag and then exchanges it within a group, each participant adding a border. This one had 5 exchanges before I got my center block back (and then I turned the large square I received “on-point” to make it fit my King bed). That center block was made from small white, cream and green schnibbles I gleaned from the fish bowl.

This was truly a successful “round robin” quilt and it has been slept under for decades! All the quilts I’ve shared so far show that scraps can be sorted by value or color – or not sorted at all.
So how did I make the Schnibblework for the star in last week’s post?
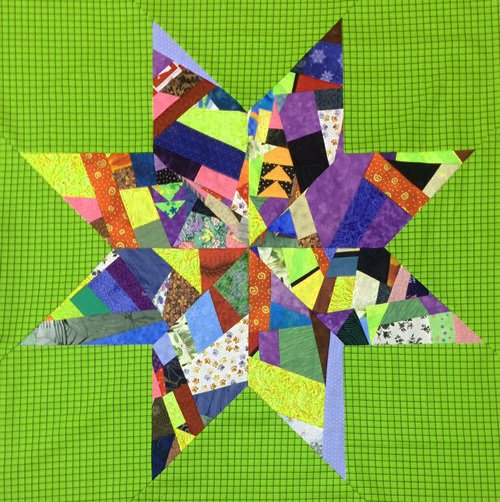
By sewing together loads of odd shaped leftover scraps without sorting!
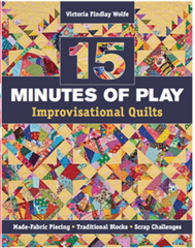
It got me to thinking about a book I purchased a few years ago by Victoria Findlay Wolfe called “15 Minutes of Play”. In it she sews her scraps together to make what she calls “made fabric”, and then uses it in her quilts. Great minds think alike. The twist was – I decided to create what I call schnibblework because I can’t stand to waste fabric or leave it lying around in piles. Victoria considers doing this quilting play. What a great attitude!
I adjusted my attitude to match hers and really did have fun making this very bright and colorful star
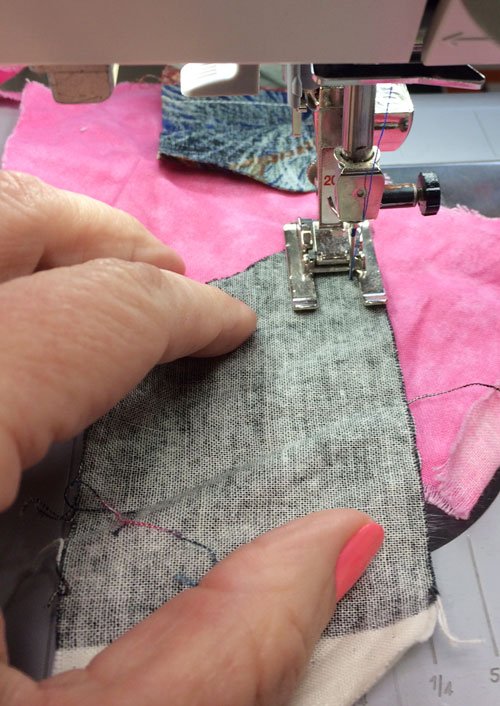
Last week I alluded to how I did this. This week I’ll explain a bit more. First I grab 2 pieces from my fishbowl,
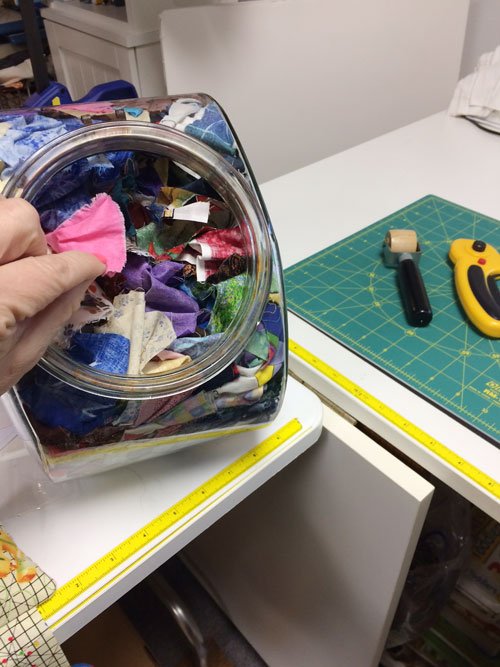
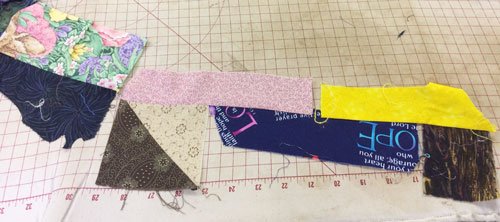
and sew them together.
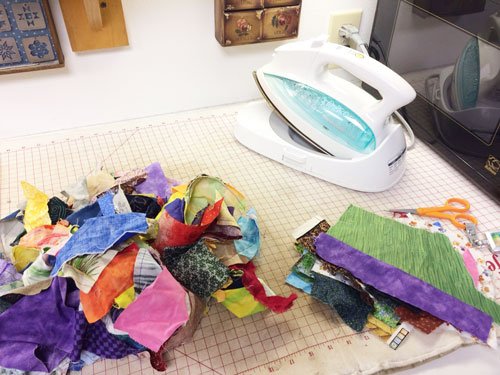
chaining more and more until I get bored. Then I go to the ironing surface and press.
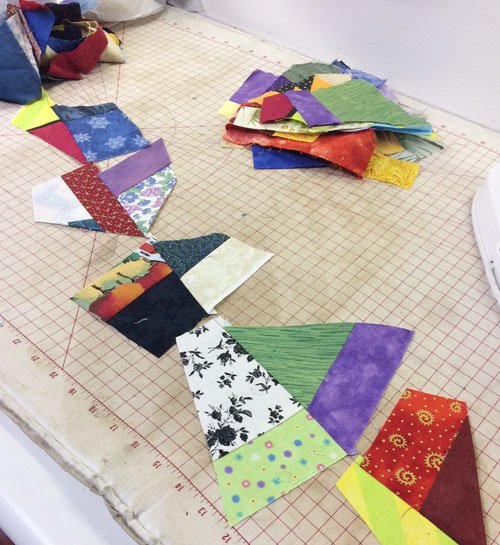
After pressing I cut the pieces apart (the pile on the left is pre-pressing and the one on the right is post-pressing).
Next I go to the cutting mat and straighten off all uneven edges (note the pile at center top – these are the shavings I allow myself to throw away!)
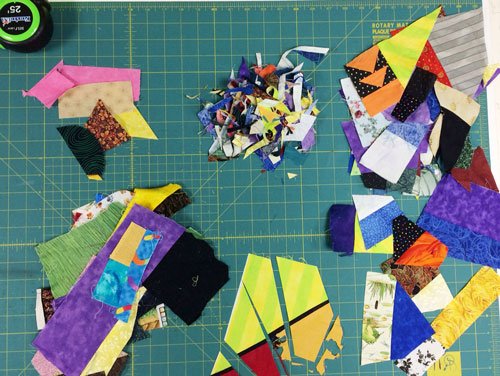
I then pick up 2 of these new pieces and repeat the process.
Continuing until the pieces are “big enough” for the shape I want to cut them into (note that some of the chunks below are not quite big enough to be cut into diamonds with the freezer paper template on the left).
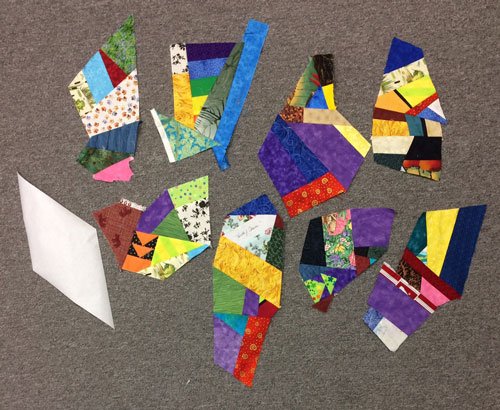
Here’s my method “If it’s too small, sew something on. If it’s too big, cut something off”. It’s pretty basic, but it works!
In next week’s post I’ll share my unique technique for cutting diamonds! I think you’ll find it a great one to have in your “quilting toolbox”!


Sue Lemke says
Hello Chris, hope all is well. I have purchased Victoria’s book as well. I love it. Yes, I have scraps like you as well, just won’t throw anything away. After reading your 2 post here, you got me thinking, fish bowl, yeah, nah, don’t need one. What I need to do is just put those scraps in a clear small bin and just pick away. Yeah, will do this on my day off tomorrow….I need to find that book as well, buried in all of those scraps(lol).
Love reading about what is going on with you and quilting.
Sue
Linda B says
Hi Chris,
I found this post VERY helpful! Recently I was trying to sew random small pieces of fabric together to make a crazy quilt effect and found it difficult because I kept getting points that wouldn’t match up. This is a very slick method and it’ll come in handy. Thanks for the tips.