I’ll get to the topic at hand in a moment, but first, I received some lovely responses to last week’s post about the memorial quilt. Please go to the comments on that post to read about them. There are so many ways quilts can be used to comfort and show love. Laura Krasinski reminded me of the memorial quilt the Milwaukee Art Quilters made for Margot (one of our members), who’s sister passed away. Each member made a floral block. Here’s Margot with the quilt.

This week Nancy sent me a photo of the memory quilt she made for her mother who is struggling with Alzheimer’s Disease. Here’s what she wrote:
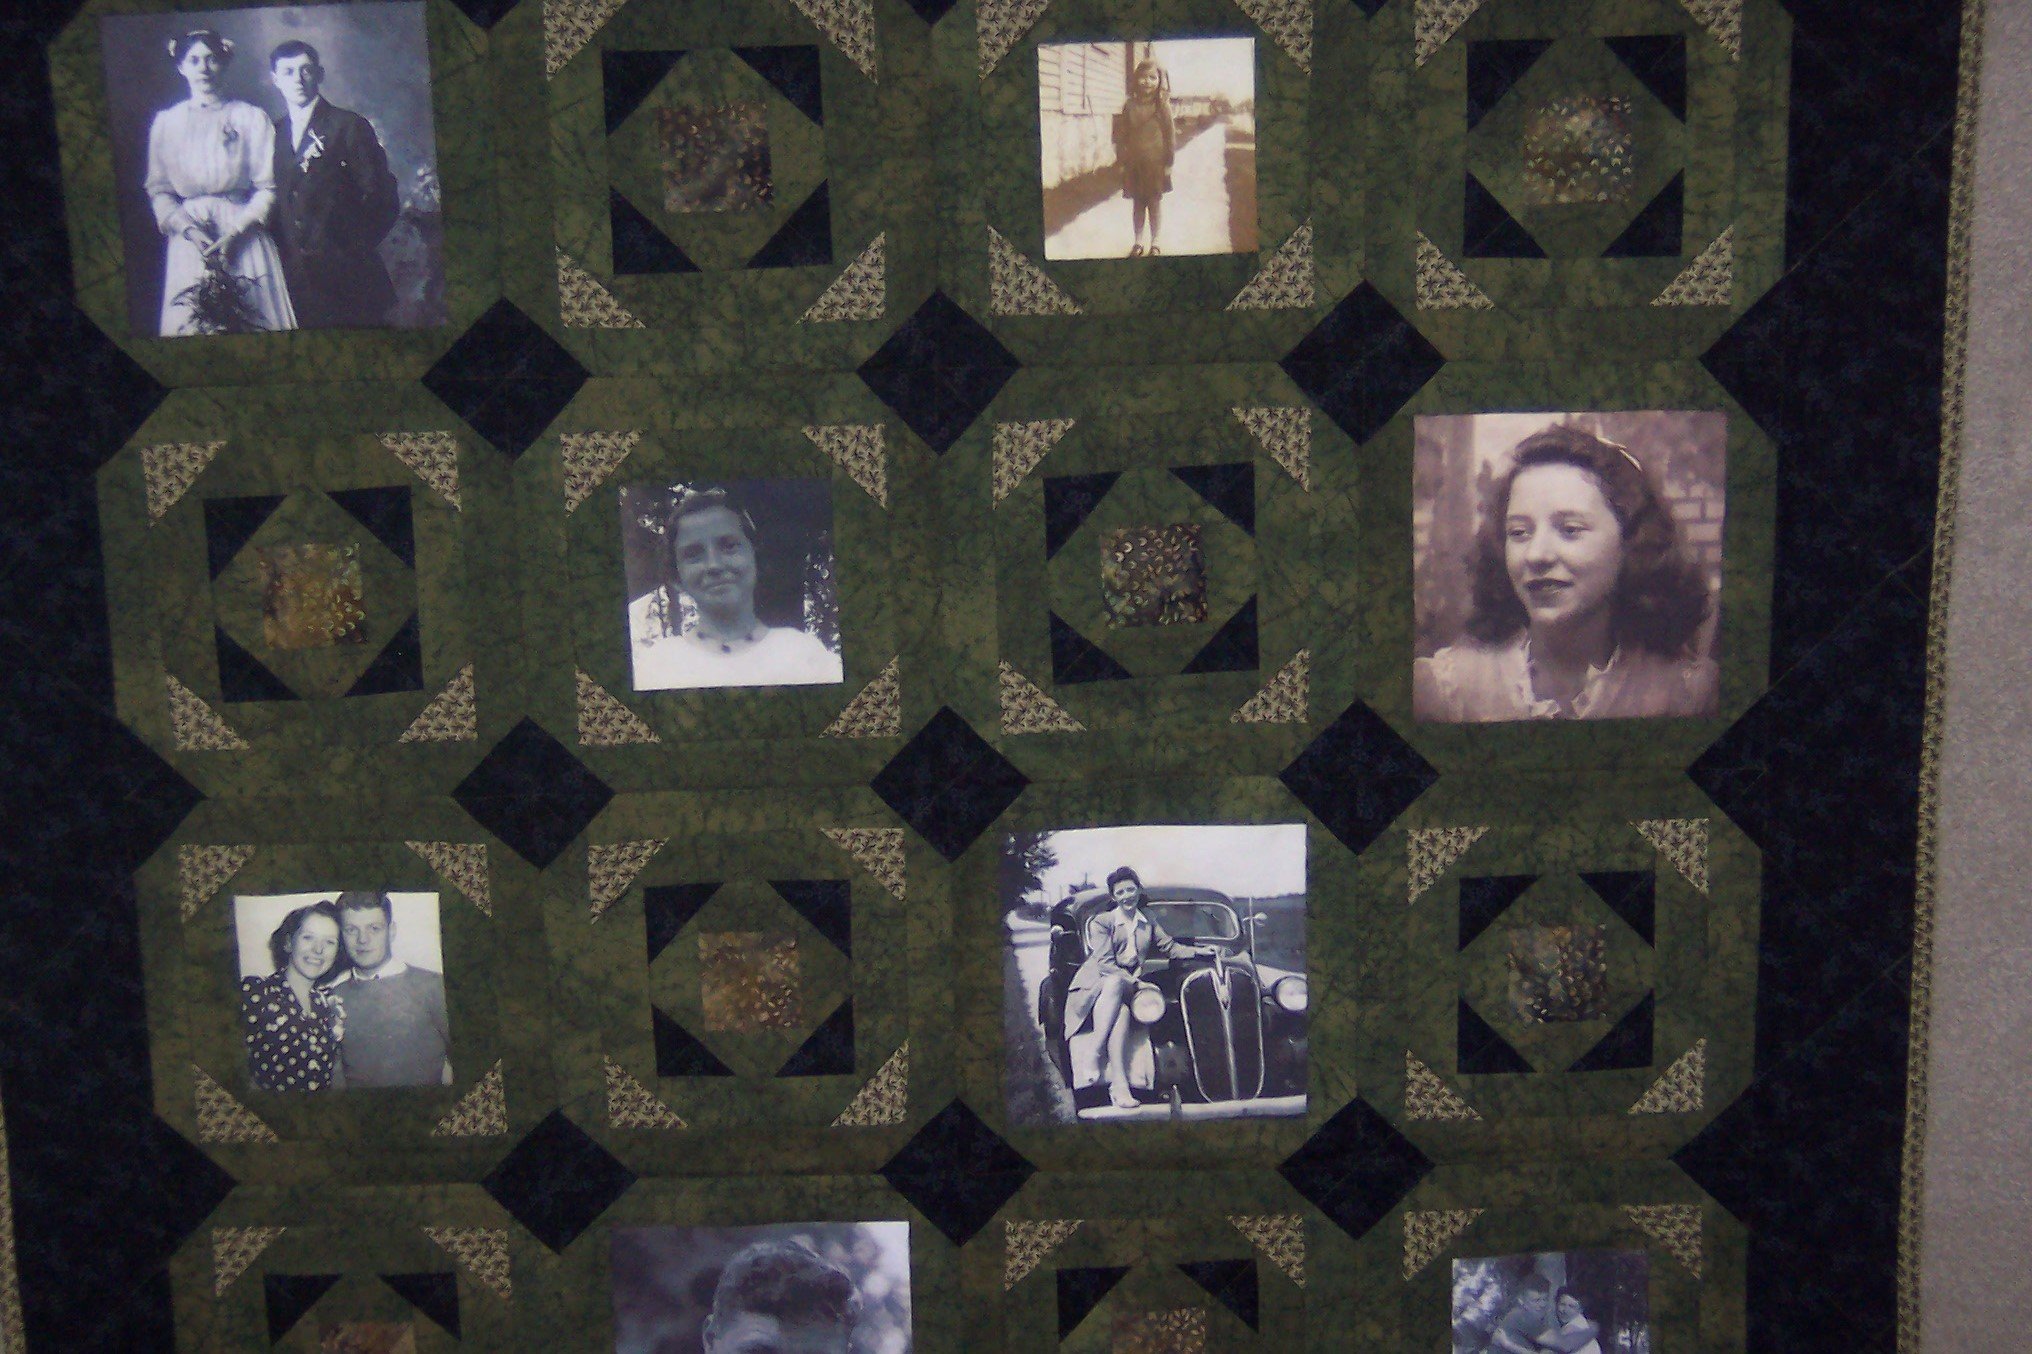
“Dear Chris,I enjoyed your recent Blog about Memory Quilting. I have done a lot of Memory Quilting and enjoy this process of keeping the past alive. It was a helpful tool for me, also, when grieving the loss of a much loved family member. I have attached two photos of a quilt I made for my mother who is living with Alzheimer’s Disease. It has photos of her as a child, young adult, young mother and wife. She has it on top of her bed and continues to tell me that “it is the best gift I have ever received”. She looks at the photos and occasionally it triggers memories from the past. Thanks for highlighting this quilting format. Nancy”
This is Nancy’s lovely quilt:
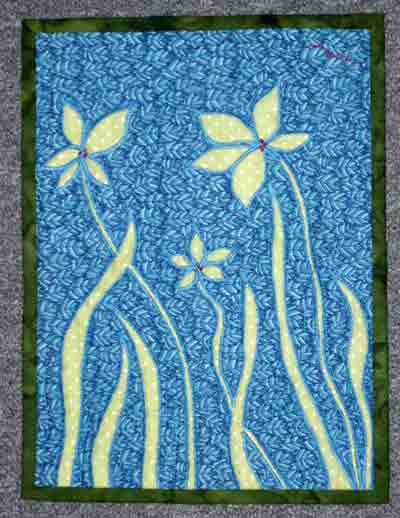
My Father-in-law suffered with Alzheimer’s and he passed away a few years ago. In his memory I decided to make a small quilt for Ami Simm’s Alzheimer’s Art Quilt Initiative. She has raised a large amount of money to fight Alzheimer’s in honor of her mother, by auctioning off small art quilts (8″ x 11″). Harold Von der Linde, my dear FIL, was a passionate gardener, so I called his quilt “Memory Garden”. It sold for $75, what a blessing!
Then yesterday I received an email from Marie with this message:
“Chris, I enjoyed your blog on memorial quilts. My grandmother passed away over 10 years ago and I was fortunate enough to get her stash. She had scraps left over from toys and quilts she made the grandkids. As I was going through the fabrics, I found several patchwork blocks and partial pieces from a double wedding ring. This year for our family reunion I decided it was time to put them to good use. Here are a couple of pictures of the wall hangings I made combining the pieces. The family members who received them were just thrilled and I felt good about passing on a bit of my grandmother’s legacy.”
These are the pictures she included in the email:


They’re lovely Maire, thanks for sending the pictures!
So, on to “quilt turning”. Not as in “a bed turning of antique quilts”, but a simple technique for finishing small quilts, sometimes referred to as the “envelope” technique. This is my favorite way to do it and it’s really quite easy!
1. Square up your small quilt and cut a piece of batting the same size. Cut a piece of backing the same width, but add 1″ to the length measurement.
2. Sew a 1/4″ seam in the back (this will take up some of the extra length), leaving a 3″ opening in the stitching, and back stitching on both sides of the opening . Press the seam to one side, and cut the fold at the opening in the stitching. Trim the length to the same measurement as the quilt top.
3. Layer the pieces: batting, quilt top (face up) and then quilt back (right sides together). Stitch all the way around with a 1/4″ seam (no need to leave an opening along the edge).

4. Trim off the corners of the seam allowance and turn the quilt right side out.

5. Push corners out and press.
6. Stitch up the opening in the back and quilt as desired!
The best part of doing it this way is that the opening is easy to stitch together on the back and you don’t need to stitch up an opening along the outer edge of the quilt. The ones I’ve done that way always seemed to wobble a bit.
Another way to do a “non-binding” finish on the outer edge of your quilt is to face it. If you have an oddly shaped outer edge, you may want to refer to my previous post on that topic by clicking here.

Carolyn Vogel says
Sounds like a great idea. Plan to give it a try on my next small quilt. The sewing closed on the back seems much easier than on the edge.
Gail says
Hi Chris, I’ve never been a fan of leaving an opening on the side of a quilt to turn it. It never seems to go straight and always looks a little wonky. So, I’ve been doing the same method you describe for minis for 15 years ( I thought I made it up first!!) I usually do the backing all in one piece. I decide ahead of time where the slit on the back will be – usually in the center. Once it’s turned inside out and pressed, I make a label using Heat ‘n Bond Regular for the back of it and then iron it right over the slit. Voila!! No one knows my secret!!
Gail Maslan
clkquilt says
Great idea!
Patty says
Great idea. Thanks for the info!
Mary says
Man was this perfect timing for me! Thanks a bunch!
Hazel says
Hi, Chris. Love your take on “enveloping” a small quilt! Those side openings never seem to match up quite right.
Kathy says
How do you sew the opening closed
clkquilt says
I hand stitch it closed.
Linda says
Great instructions
How do you hang it?
clkquilt says
I would add a sleeve to the back to hang it. For instructions go to: https://chrisquilts.net/?p=419. These instructions are for a narrow sleeve on a small quilt. To make a 4″ sleeve, cut the strips at 8 1/2″
Sue says
So do you quilt it all after you have turned it?
clkquilt says
Yes :-)!
Linda Janovitz says
Having the opening in the middle then naturally you’d have to two pieces to make up the backing. I’ve never done it that way – not great at hand stitching, I guess I’ll have to try that next time. I usually do a decorative stitch a round the edges and some in the main body of the quilt just to stabilize it. I make receiving blankets out of flannel and just turn them because they don’t need any batting.